Solo Camping Photography: Capturing the Magic Alone
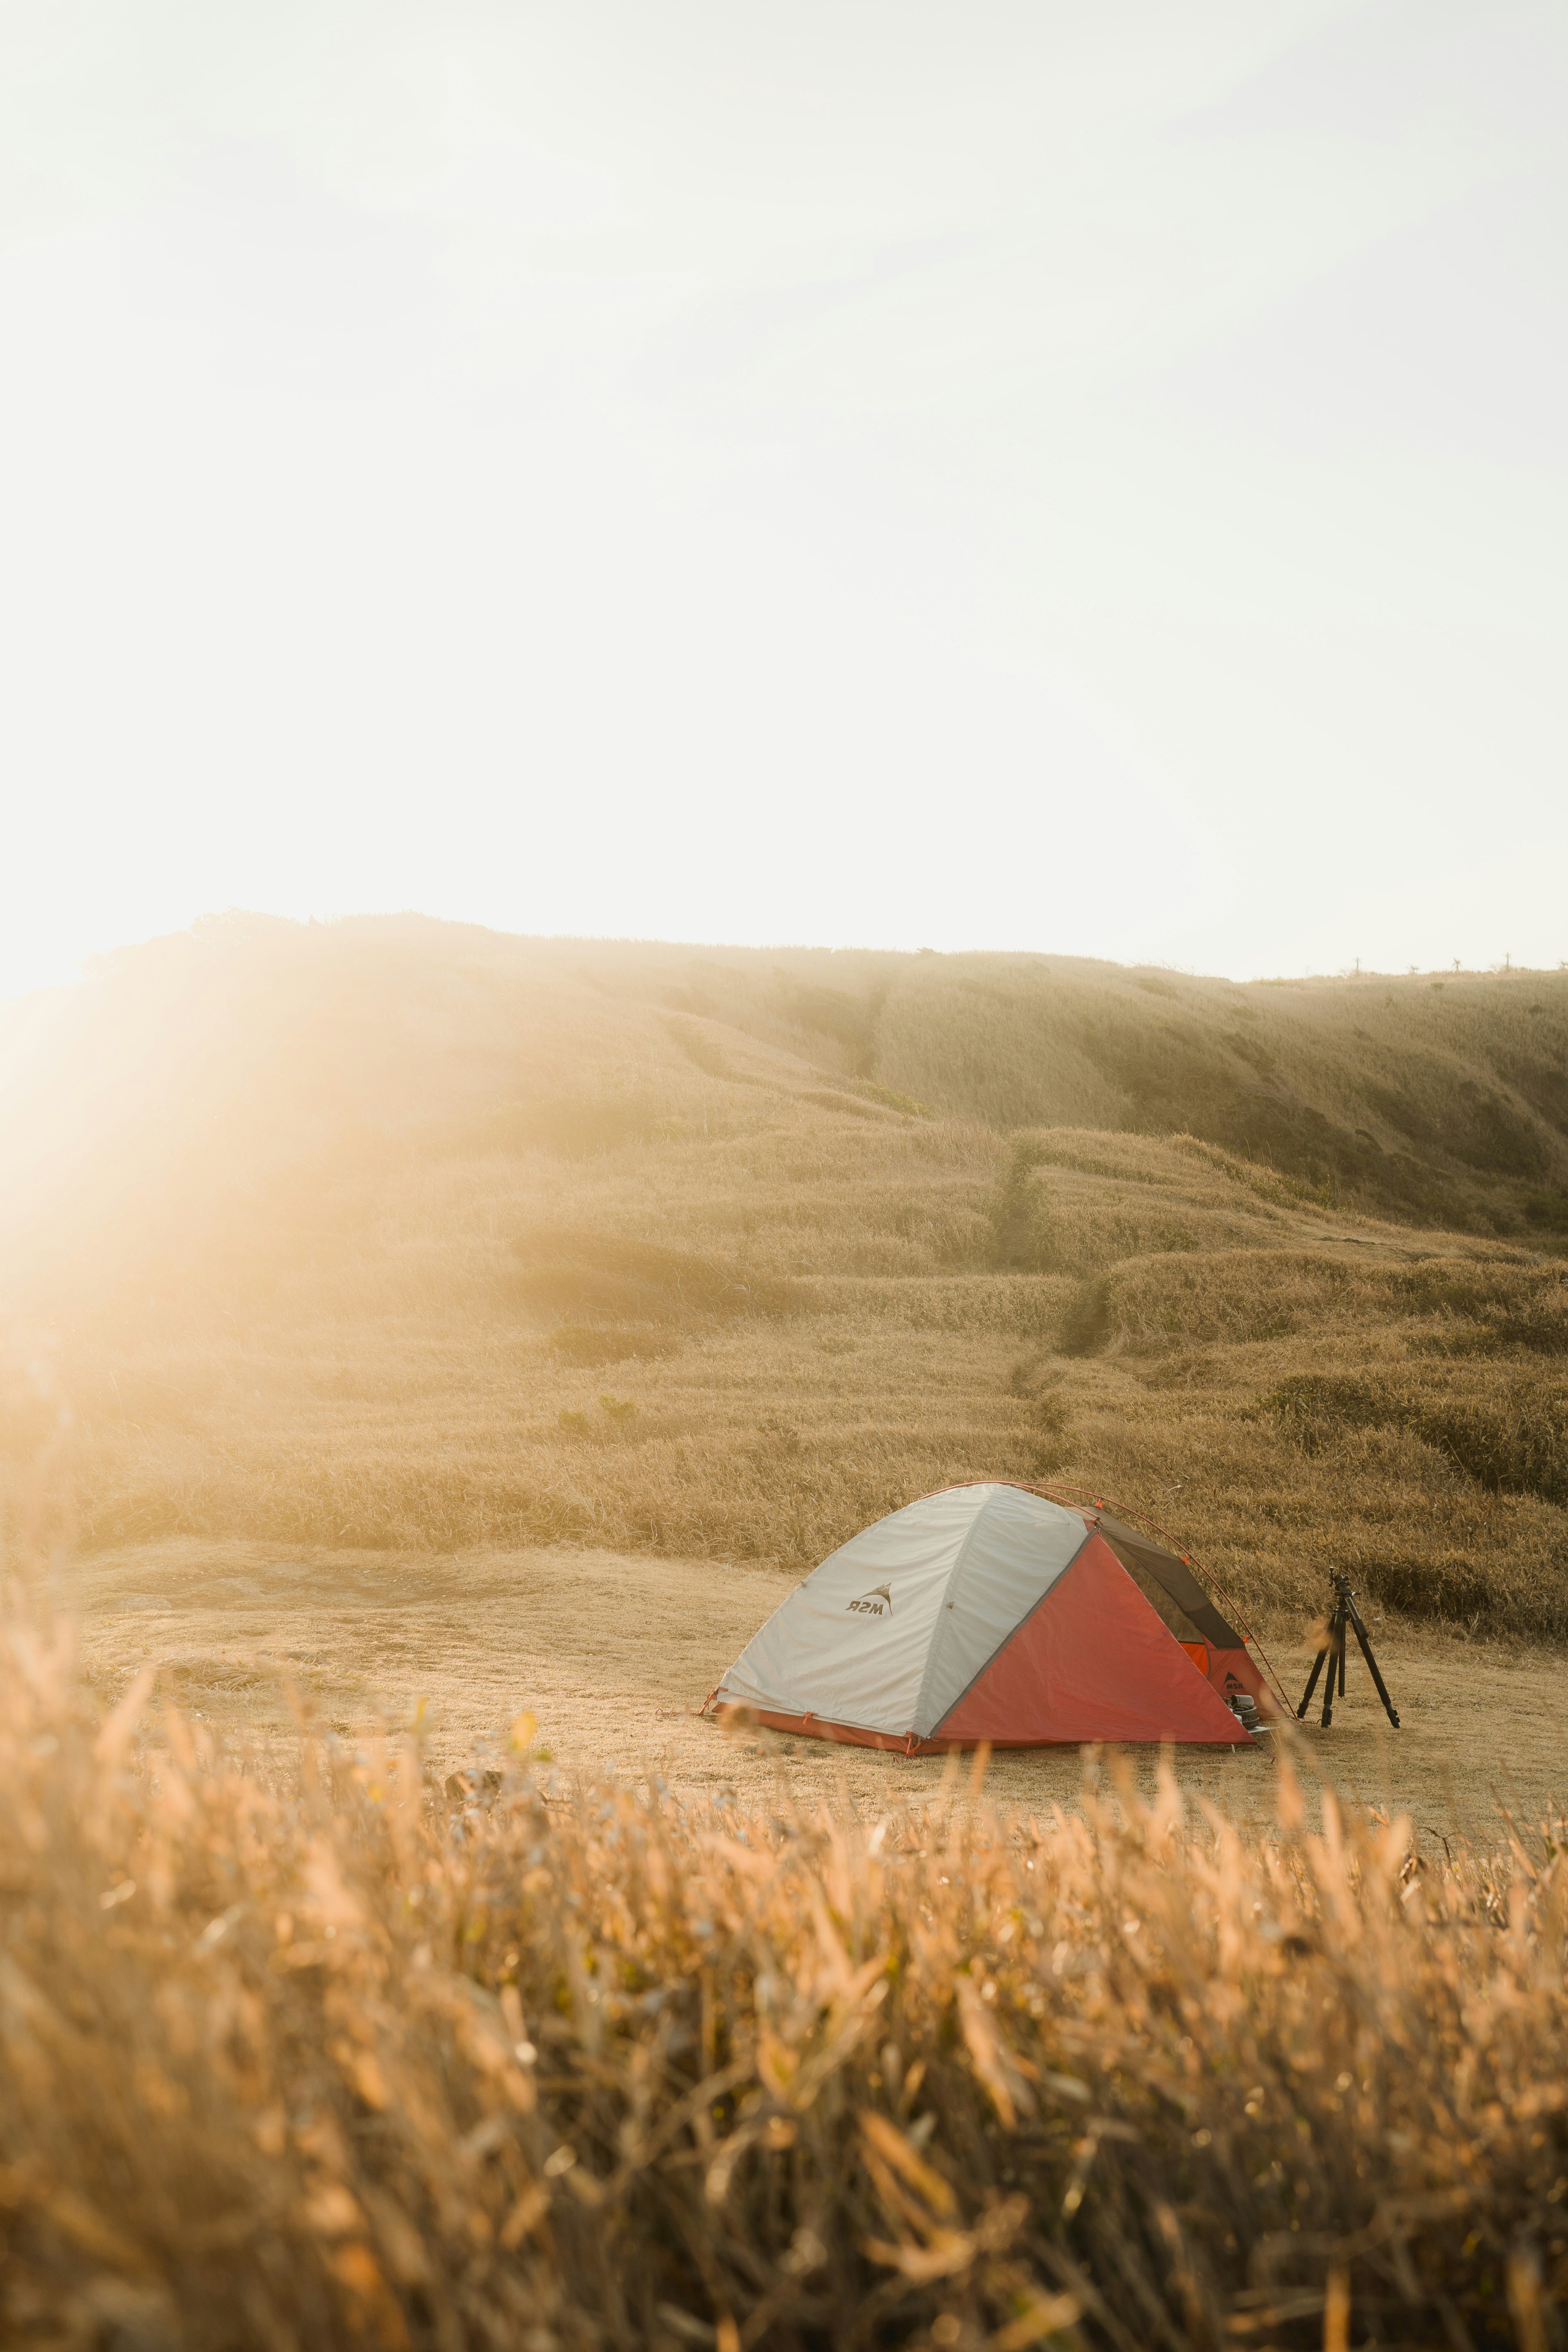
Image source: Unsplash (Free to use)
Solo Camping Photography: Capturing the Magic Alone
One of the biggest challenges of solo camping is documenting the journey. When you’re miles from the nearest human, who’s going to take that epic shot of you standing on the ridge at sunrise? For years, my solo trip photos were either shaky selfies or shots of my own feet. But with a few simple techniques and the right mindset, solo camping photography can become one of the most rewarding parts of your adventure.
The Essential Solo Kit
You don’t need a backpack full of heavy DSLR gear to take great photos. In fact, when you’re solo, weight is your enemy.
- The Lightweight Tripod: This is your "photographer." Look for a compact, carbon-fiber tripod or a versatile GorillaPod that can wrap around tree branches. It’s the single most important tool for solo shots.
- The Remote Shutter: A small Bluetooth remote or a wired intervalometer allows you to trigger the camera from a distance. Alternatively, use your camera’s built-in self-timer (set it to 10 seconds to give yourself time to get into position).
- A Wide-Angle Lens: Perfect for capturing both yourself and the vast landscape. It’s more forgiving with framing when you can’t see the screen.
Master the "Self-Portrait" (Not the Selfie)
A "solo camping selfie" often feels staged and flat. A "self-portrait" feels like a moment captured in time.
- Tell a Story: Instead of just standing there, do something. Boil water on your stove, adjust your backpack, or look out at the view. These "candid" shots feel more authentic and resonate more with viewers.
- Use Scale: The wilderness is big. Show it. Position yourself small in the frame against a massive mountain or forest. This emphasizes the solitude and scale of your journey.
- The "Walk-Away" Shot: Set your tripod, start the timer, and walk away from the camera toward the horizon. This is a classic solo camping shot that never gets old.
Working with Natural Light
Light is everything in photography. In the wild, you have two best friends: the Golden Hour and the Blue Hour.
- Golden Hour: The hour after sunrise and before sunset. The light is soft, warm, and creates long, dramatic shadows. This is when you want to be out with your camera.
- Blue Hour: The period just after sunset or before sunrise. The sky takes on a deep blue hue, and the world feels quiet and ethereal. It’s perfect for long-exposure shots of your illuminated tent.
Documenting the Details
Don't just focus on the big views. The story of your solo trip is in the details.
- The Gear: A shot of your boots by the fire, your organized pack, or your morning coffee. These details ground your narrative.
- The Flora and Fauna: Macro shots of wildflowers or a curious squirrel add texture to your photo set.
- The Process: Take photos of yourself setting up the tent or studying a map. These "behind-the-scenes" moments are part of the solo experience.
Ethical Photography: Leave No Trace
As with every part of solo camping, Leave No Trace applies to photography too.
- Stay on the Trail: Don’t trample delicate meadows just to get "the shot."
- Respect Wildlife: Use a zoom lens instead of approaching animals.
- Be Mindful of Others: If you’re in a popular spot, don’t hog the best viewpoint with your tripod for hours.
Solo camping photography is about more than just "likes" on social media. It’s a way to slow down, observe your surroundings more deeply, and create a visual diary of your independent spirit. It turns your adventure into a work of art.